How to Blacklist Email in cPanel Spam Filters
Log in to cPanel.
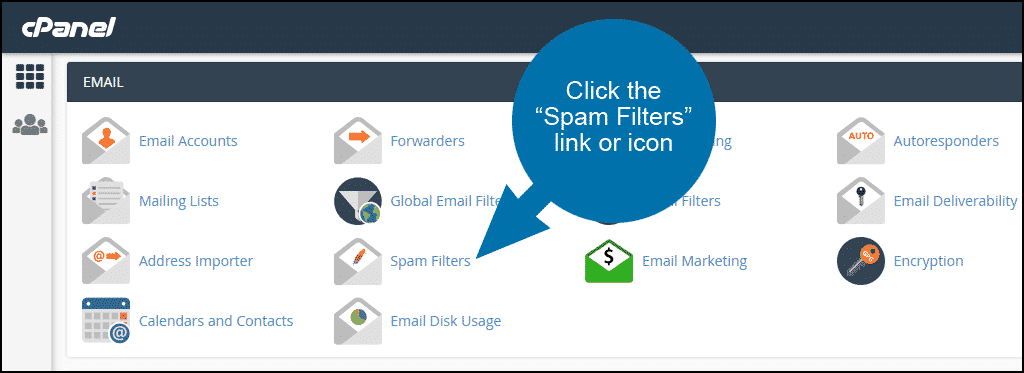
In the “Email” section, click the “Spam Filters” link or icon.
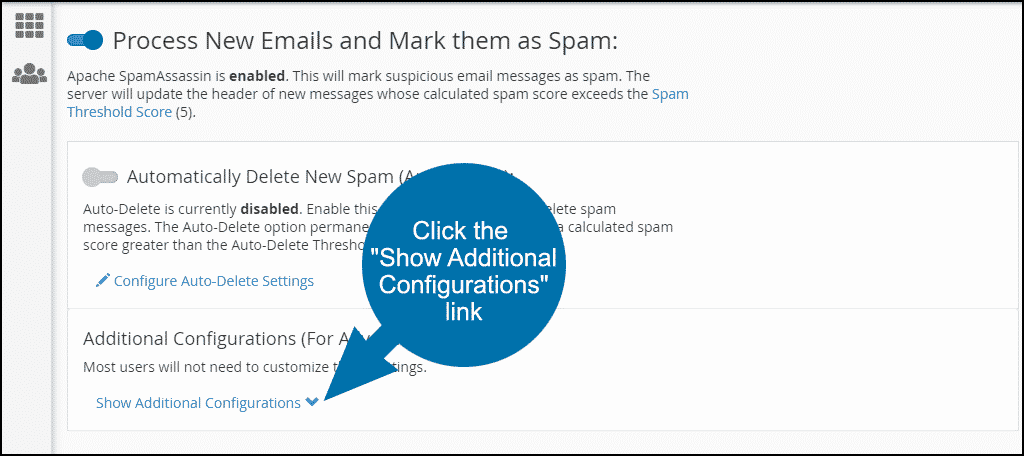
Scroll down to the “Additional Configurations (For Advanced Users)” section.
Click the “Show Additional Configurations” link.
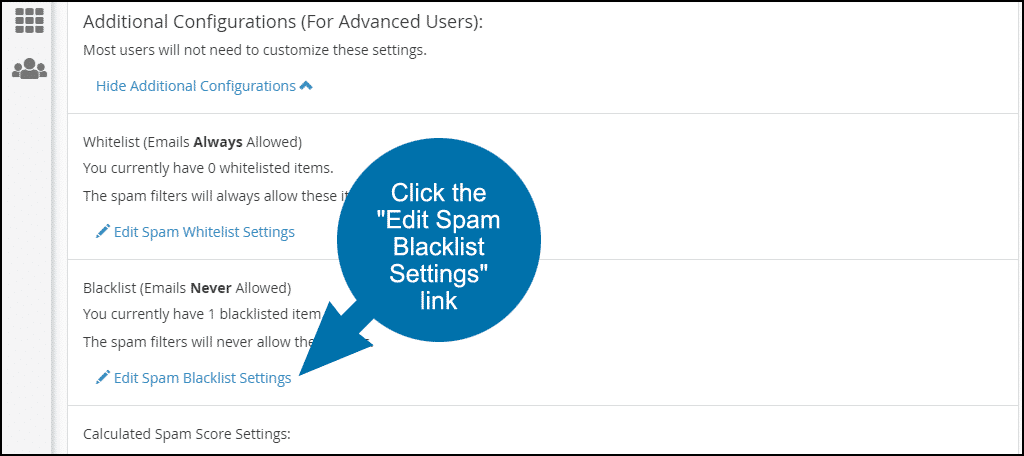
Scroll down to the “Blacklist (Emails Never Allowed)” section.
Click the “Edit Spam Blacklist Settings” link.
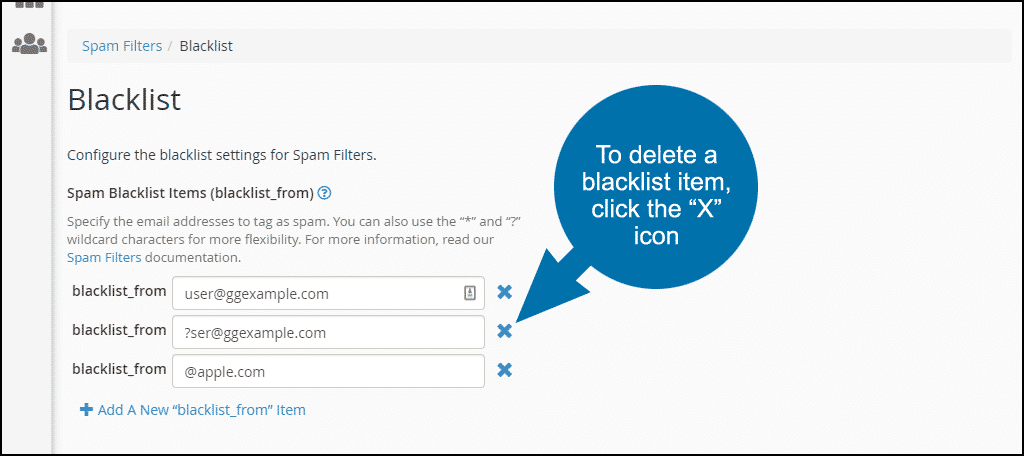
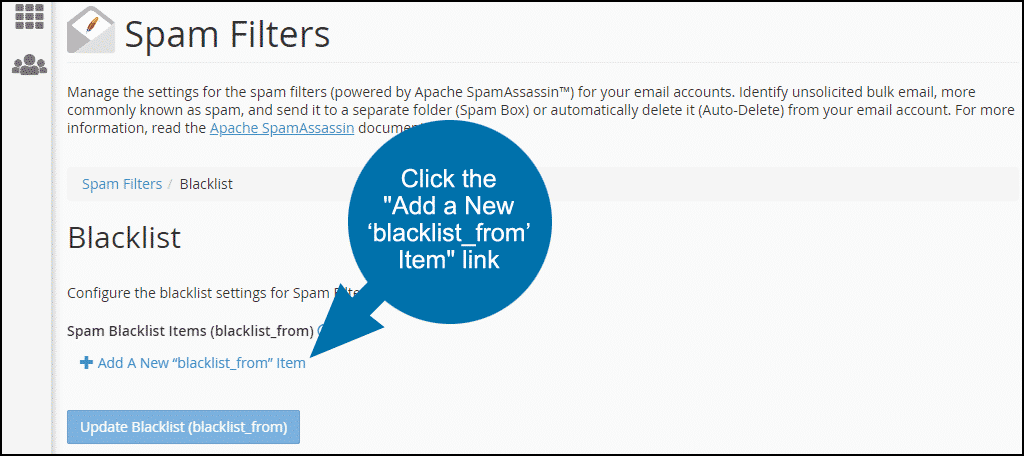
Click the “Add a New ‘blacklist_from’ Item” link.
When entering addresses, either to blacklist or whitelist, you can use the following options:
- user@ggexample.com — To whitelist a single email address.
- *@ggexample.com — To whitelist all of the addresses at ggexample.com.
- ?ser@ggexample.com — To whitelist a single character in an address at ggexample.com (i.e., user@ggexample.com, but not theuser@ggexample.com).
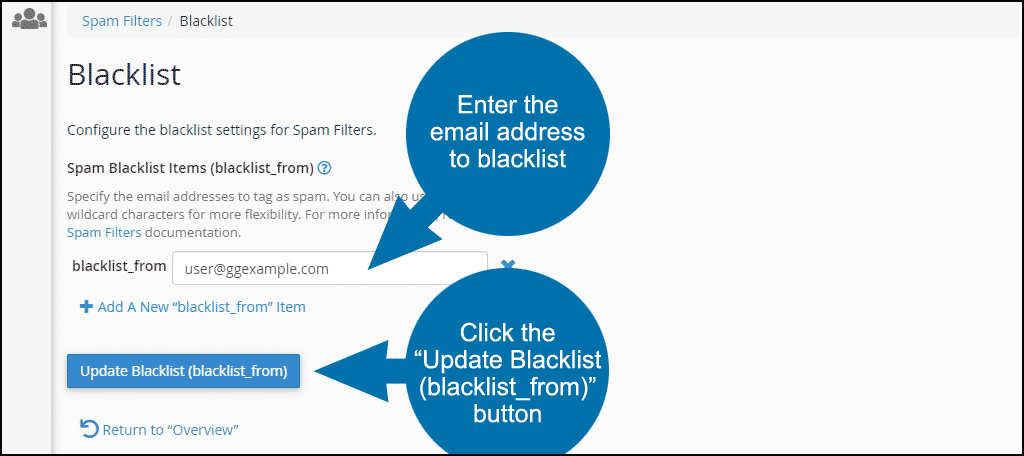
Enter the email address that you wish to blacklist.
Click the “Update Blacklist (blacklist_from)” button.
There is a success message, but otherwise, the cPanel interface can make it appear as if nothing has changed. That can be a bit confusing at first, but if you add more items you can see how the list is presented.
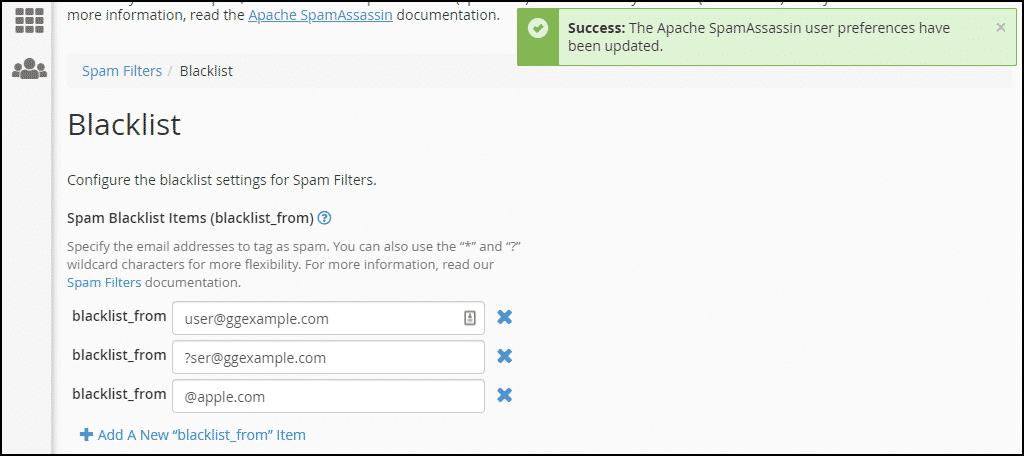
To delete a blacklist item, click the “X” icon next to the item you wish to delete.